Reviews
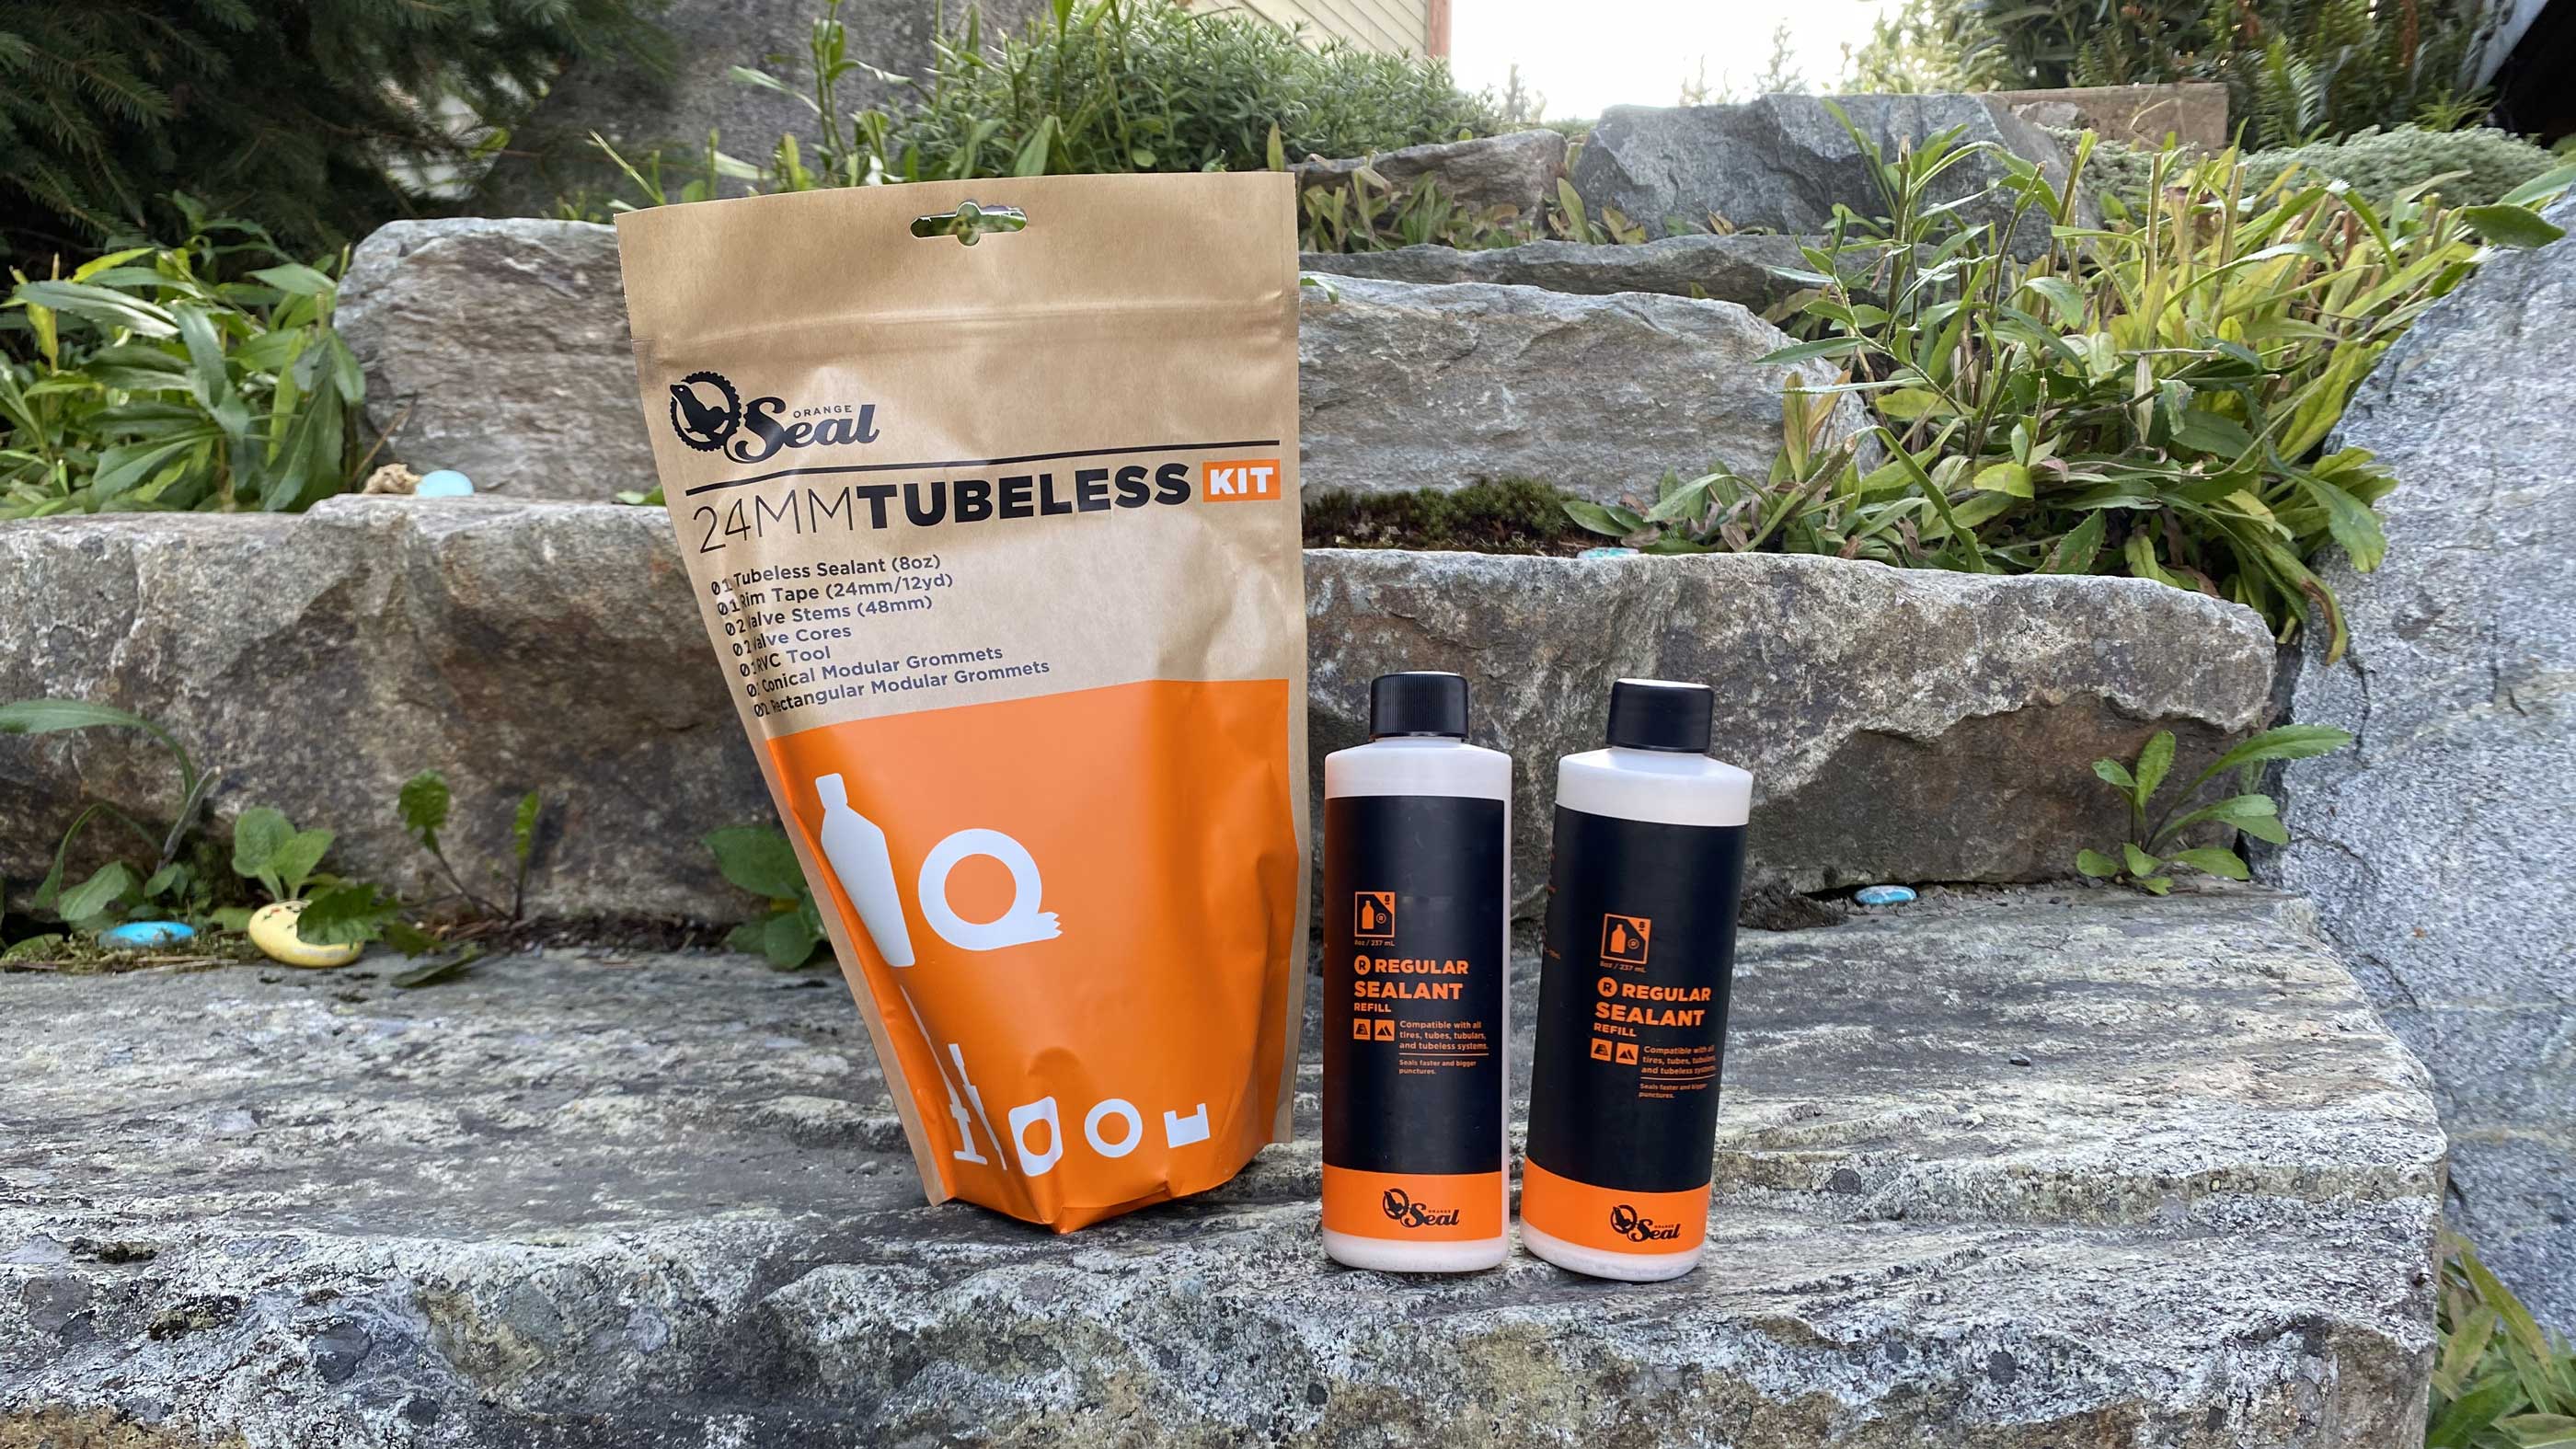
Orange Seal Tubeless kit.
It wasn't going particularly well for me that morning. It had started with a flat, which I replaced, then I promptly pinched the tube with the tire iron putting it back together.
Back into the shop, grab another tube and do it all over again. Including pinching the tube.
Now I just felt like a moron.
I hadn't pinched a tube in years, maybe something closer to a decade.. And I sure as hell hadn't pinched two in a row, ever.
When I spoke with a friend a little while later, he just said: "why are you running tubes still?".
And frankly I didn't have an answer.
I have run tubeless on my xc bikes for quite some time.. But I had never put them on a downhill bike before.
So after the flat fiasco, it was time to upgrade so I got a Tubeless kit from Orange Seal.
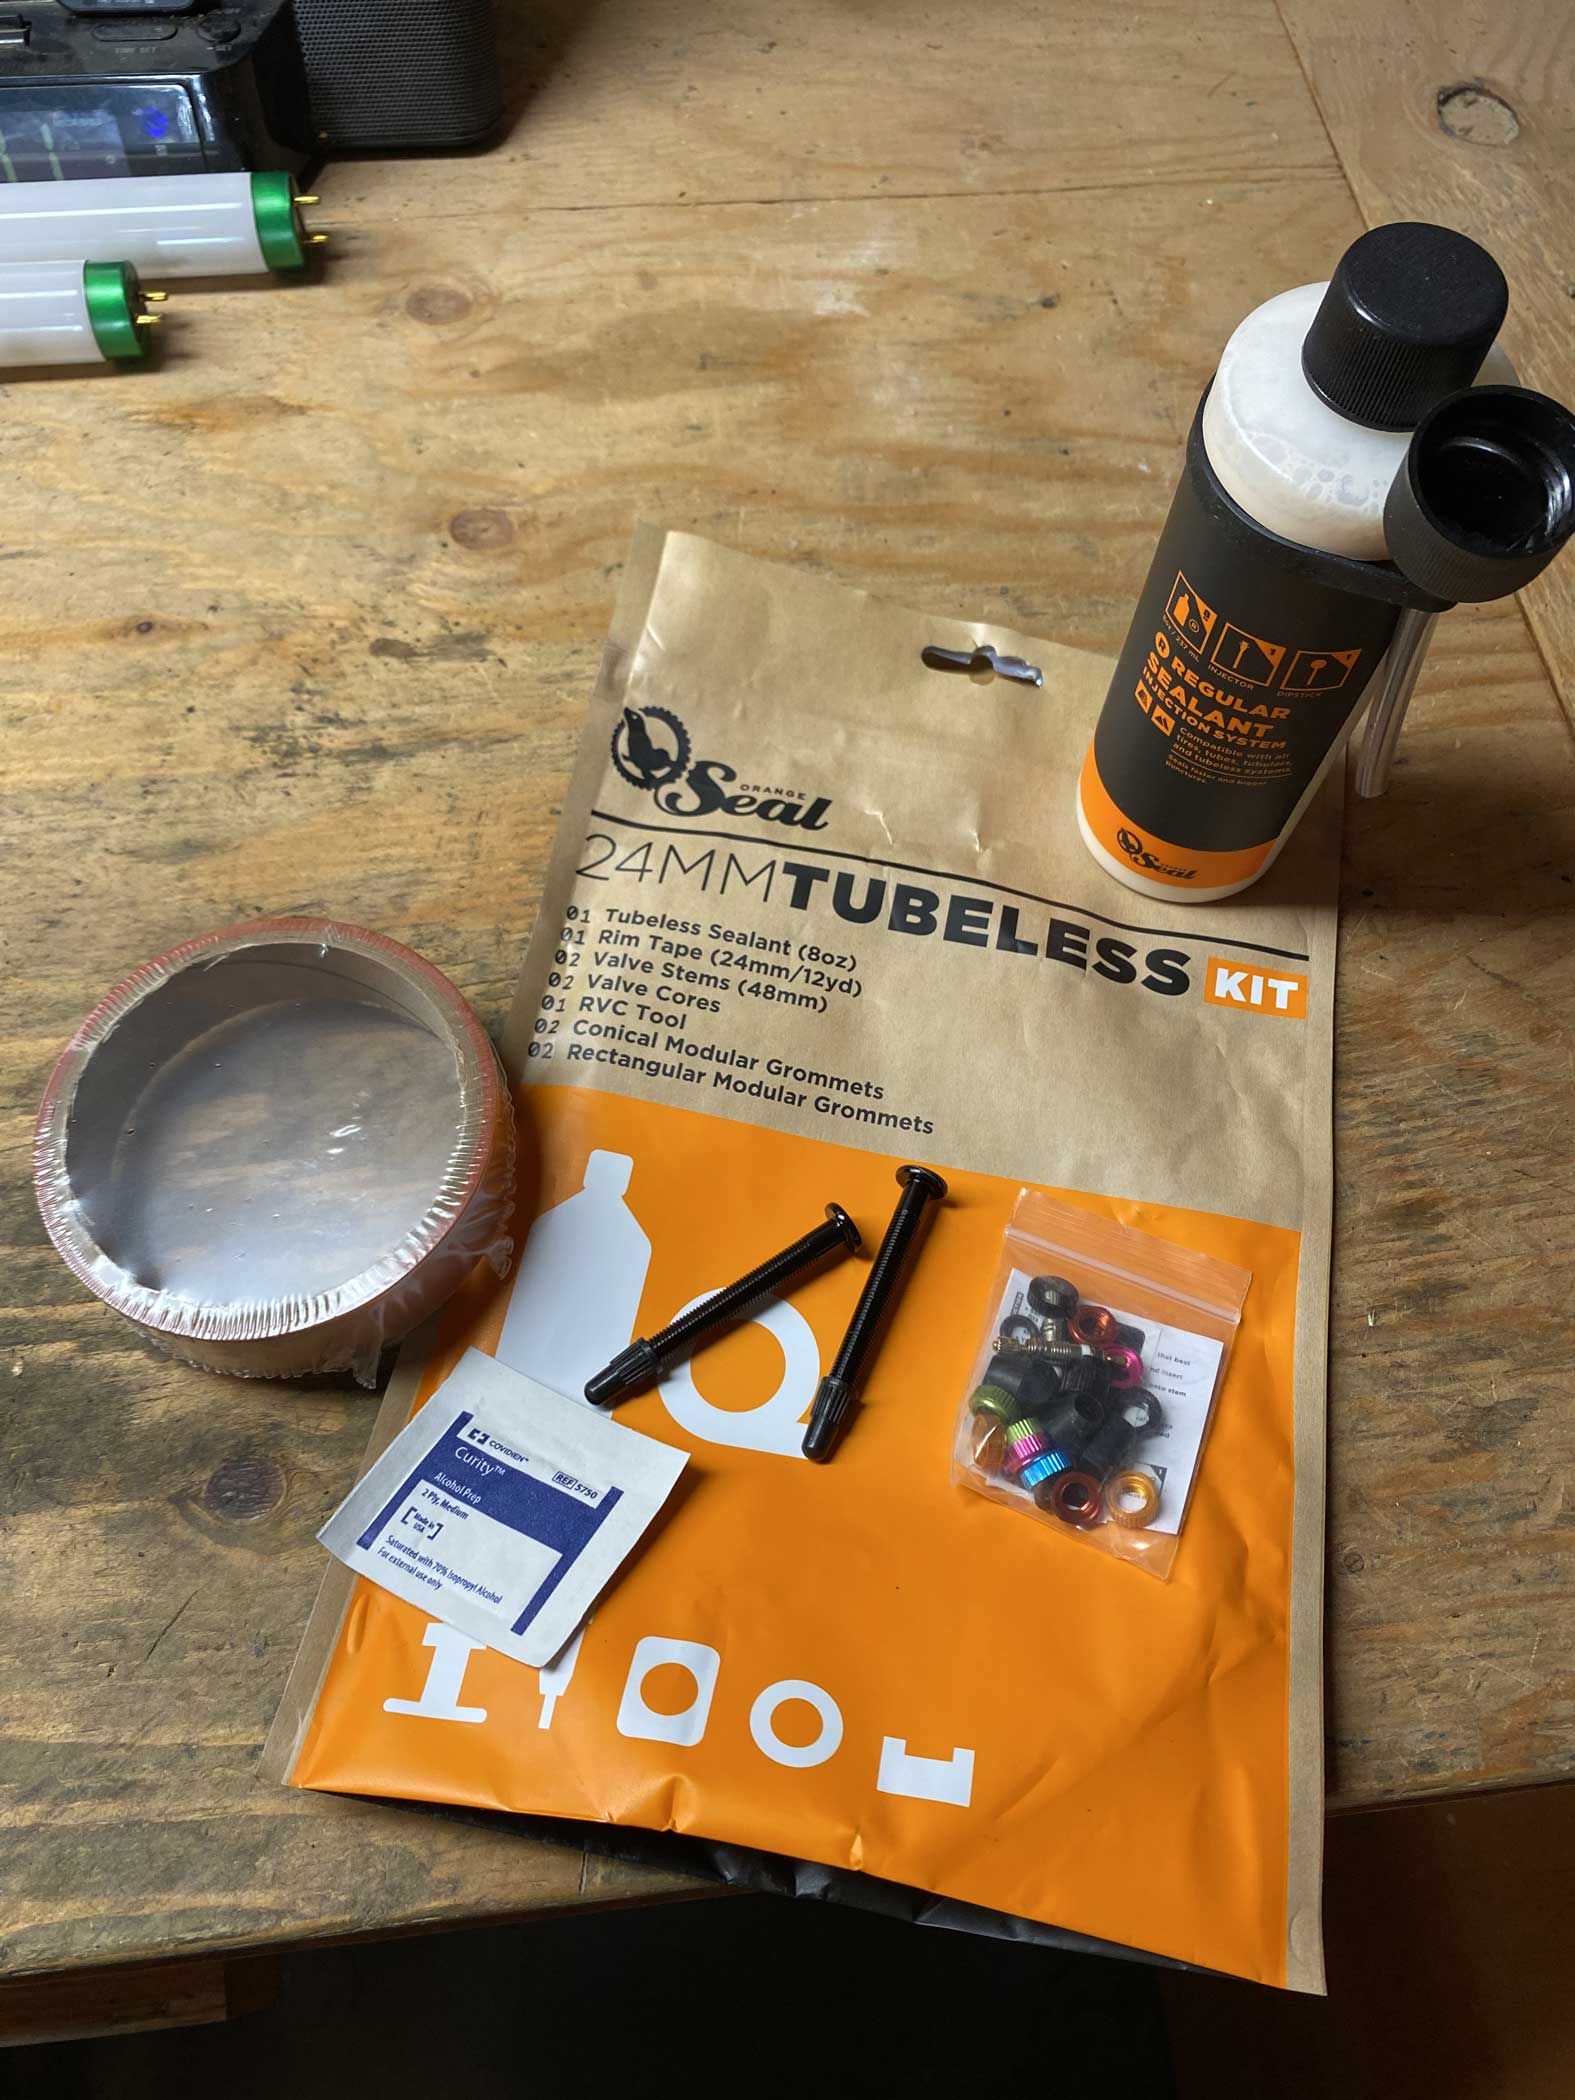
The package included: 24mm rim tape, 2x48mm valve cores, a core removal tool, an injector & a bottle of sealant.
First thing I had to do was remove the old rim tape and clean the rim off, i just wiped it down with a rag and got rid of the dirt & adhesive residue.
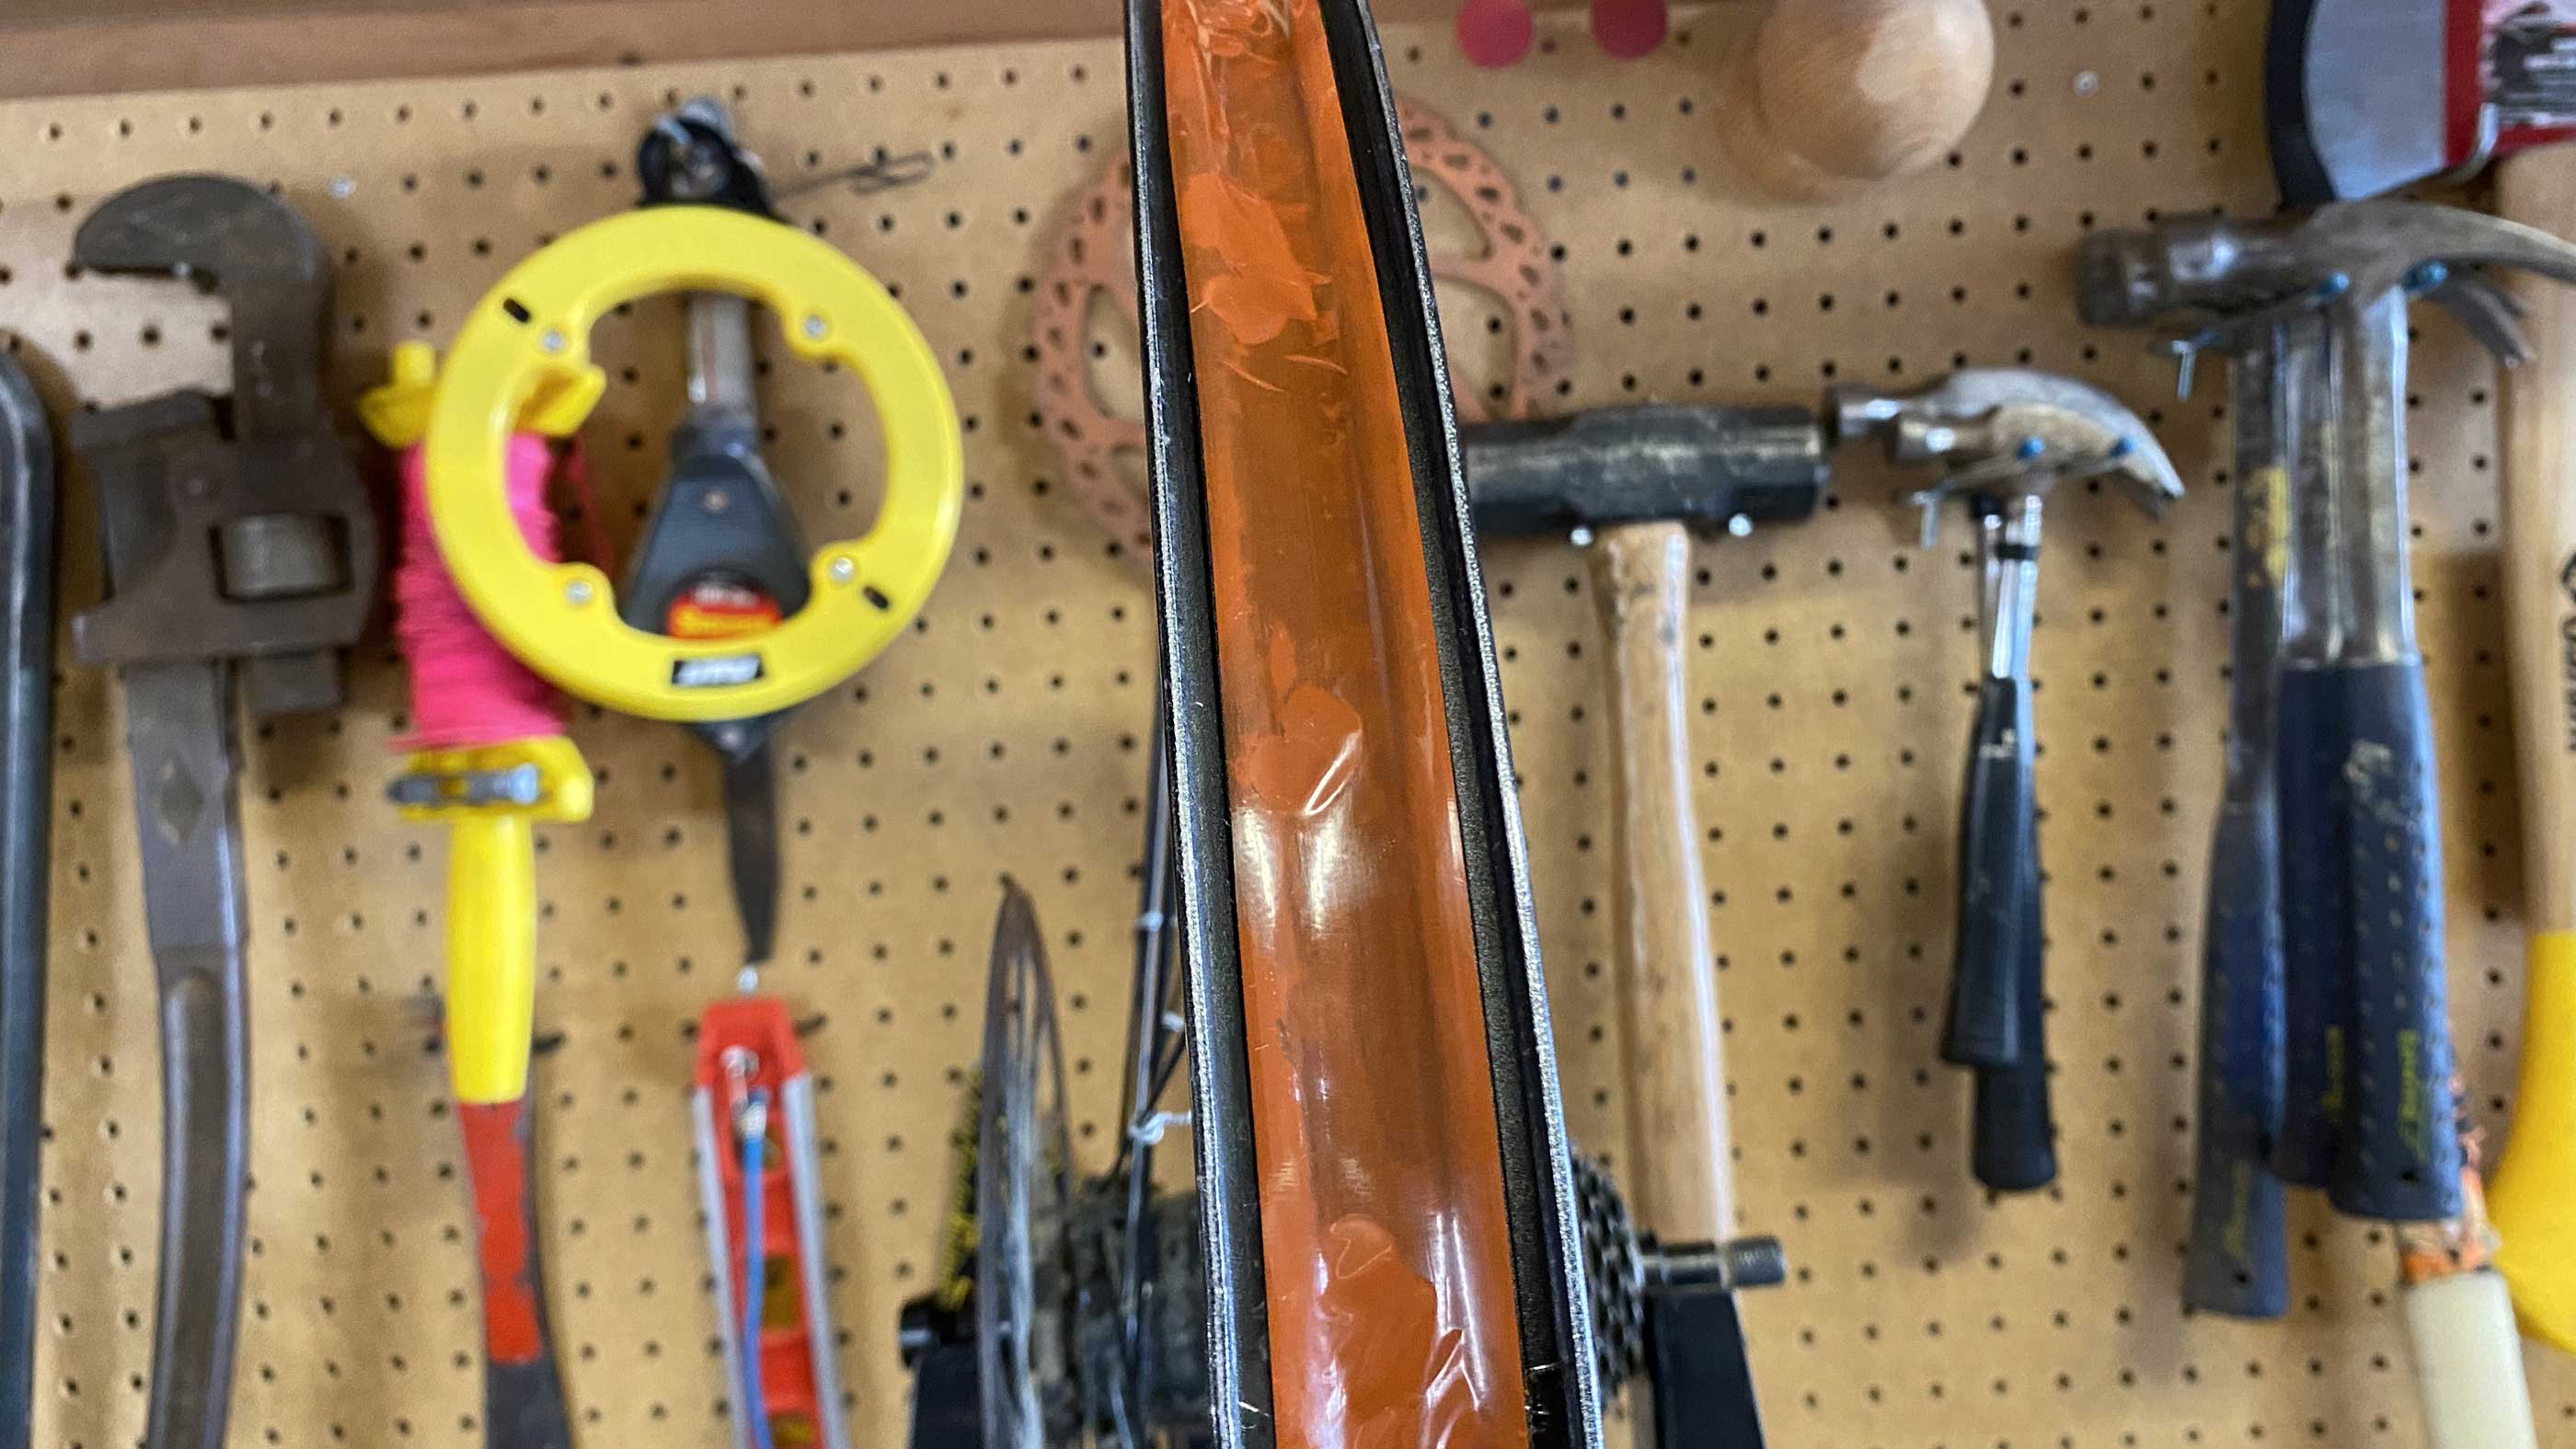
I put the new tape on, which was a bit different than normal, as I was putting it on an offset rim, with a pretty large dish in the profile. I had to really pay attention to getting it to sit correctly and shape to the profile correctly. Working it flat and adhered properly to the shape of the rim.
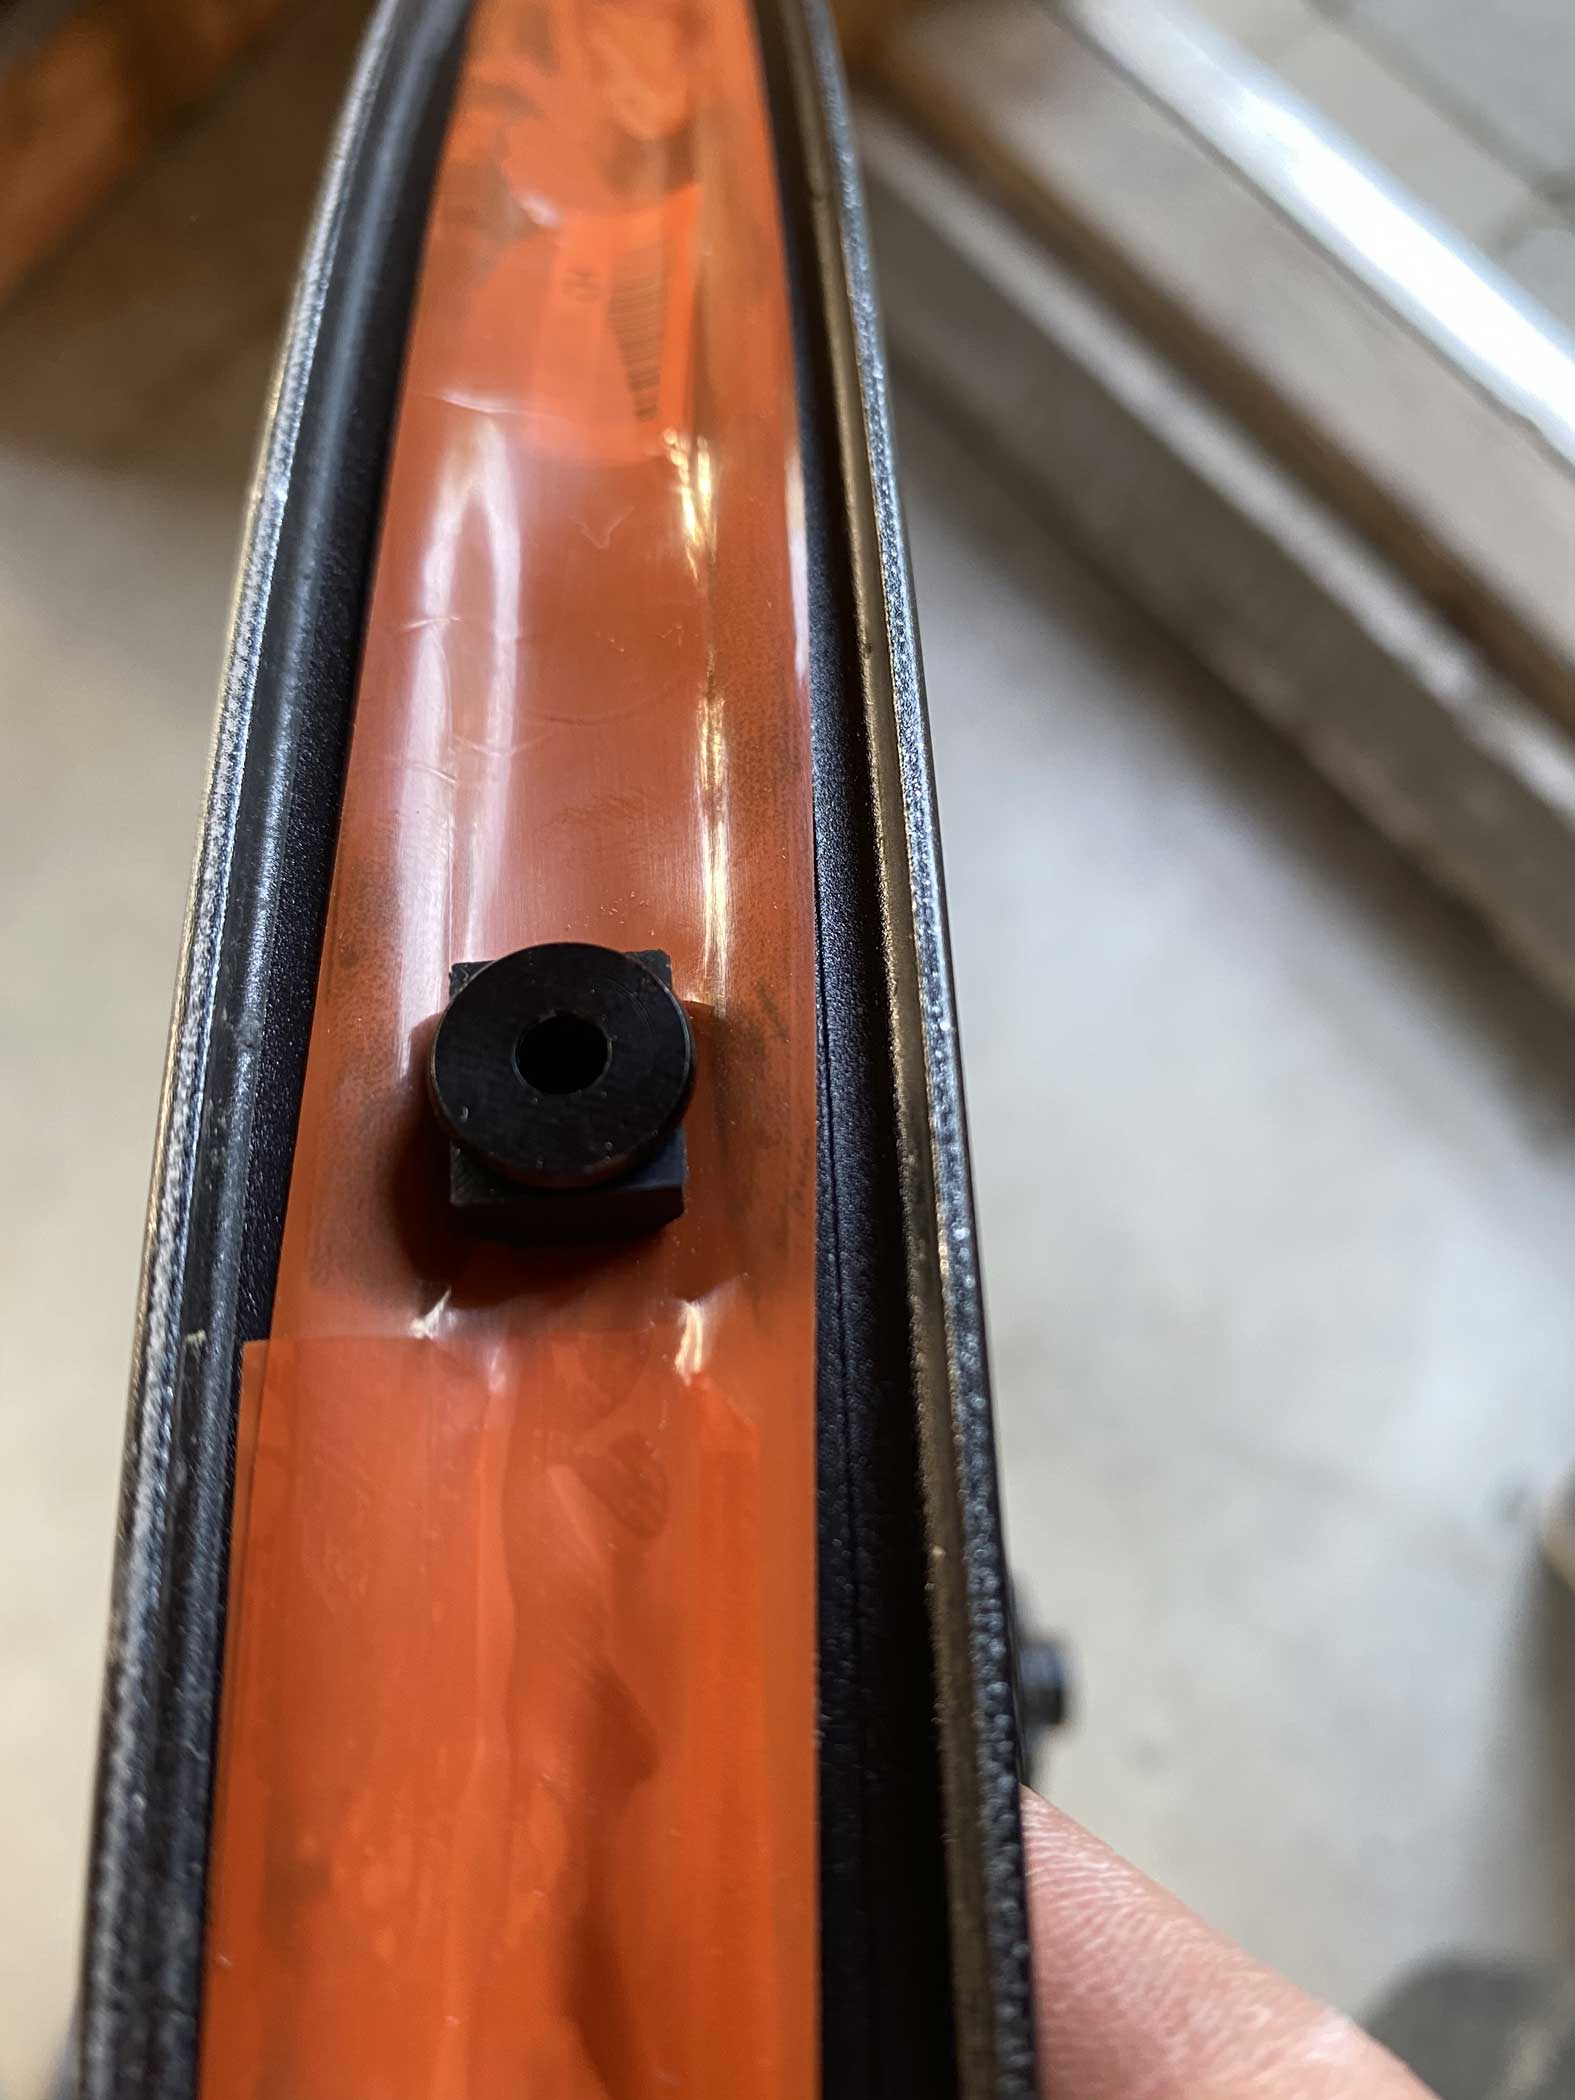
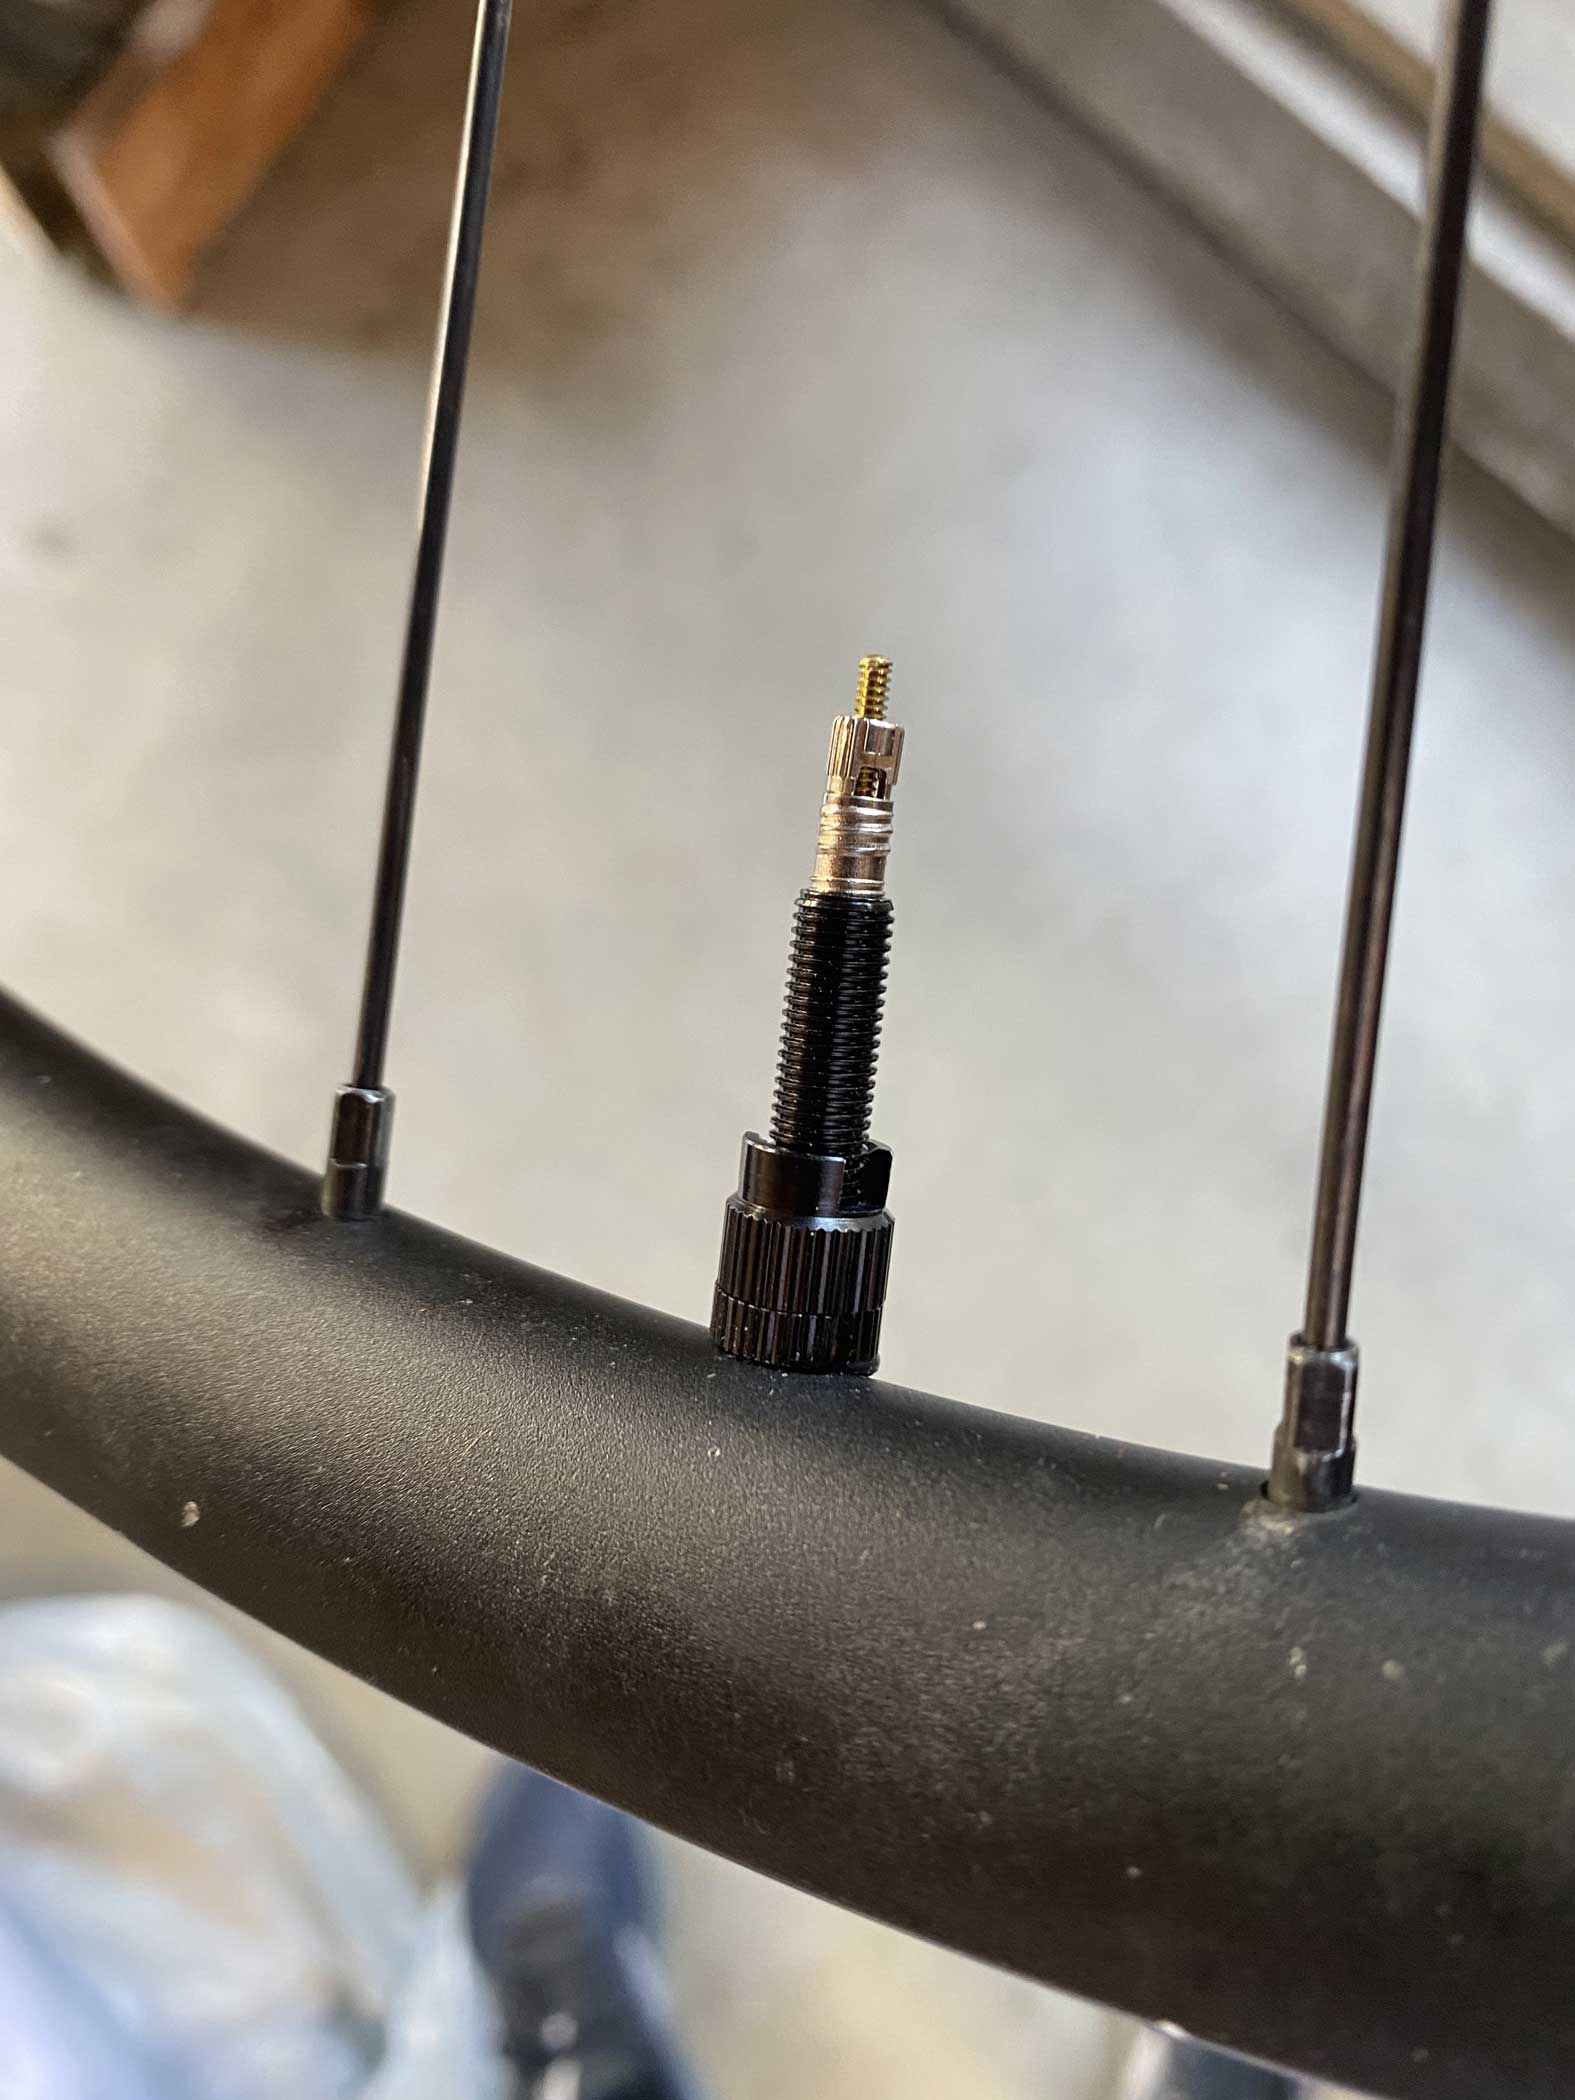
Once I had got the tape on and wrapped all the way around and overlapped by a couple inches, I poked the hole for the valve and seated it in. The pack came with a couple different colours for the lock ring, which was a nice touch for the kit.
Once that was in, the tire went back on, pressurized so that the bead was seated, then I released the air and took the valve core out so that I could then put the sealant in. Sidenote.. I usually lube up the bead on my tires so that they slip into position easier. I was using Uncle Dicks (https://whistlermountainbike.com/news/there-s-more-than-beer-in-milwaukee) until I ran out of it.. Now I just use soapy water.
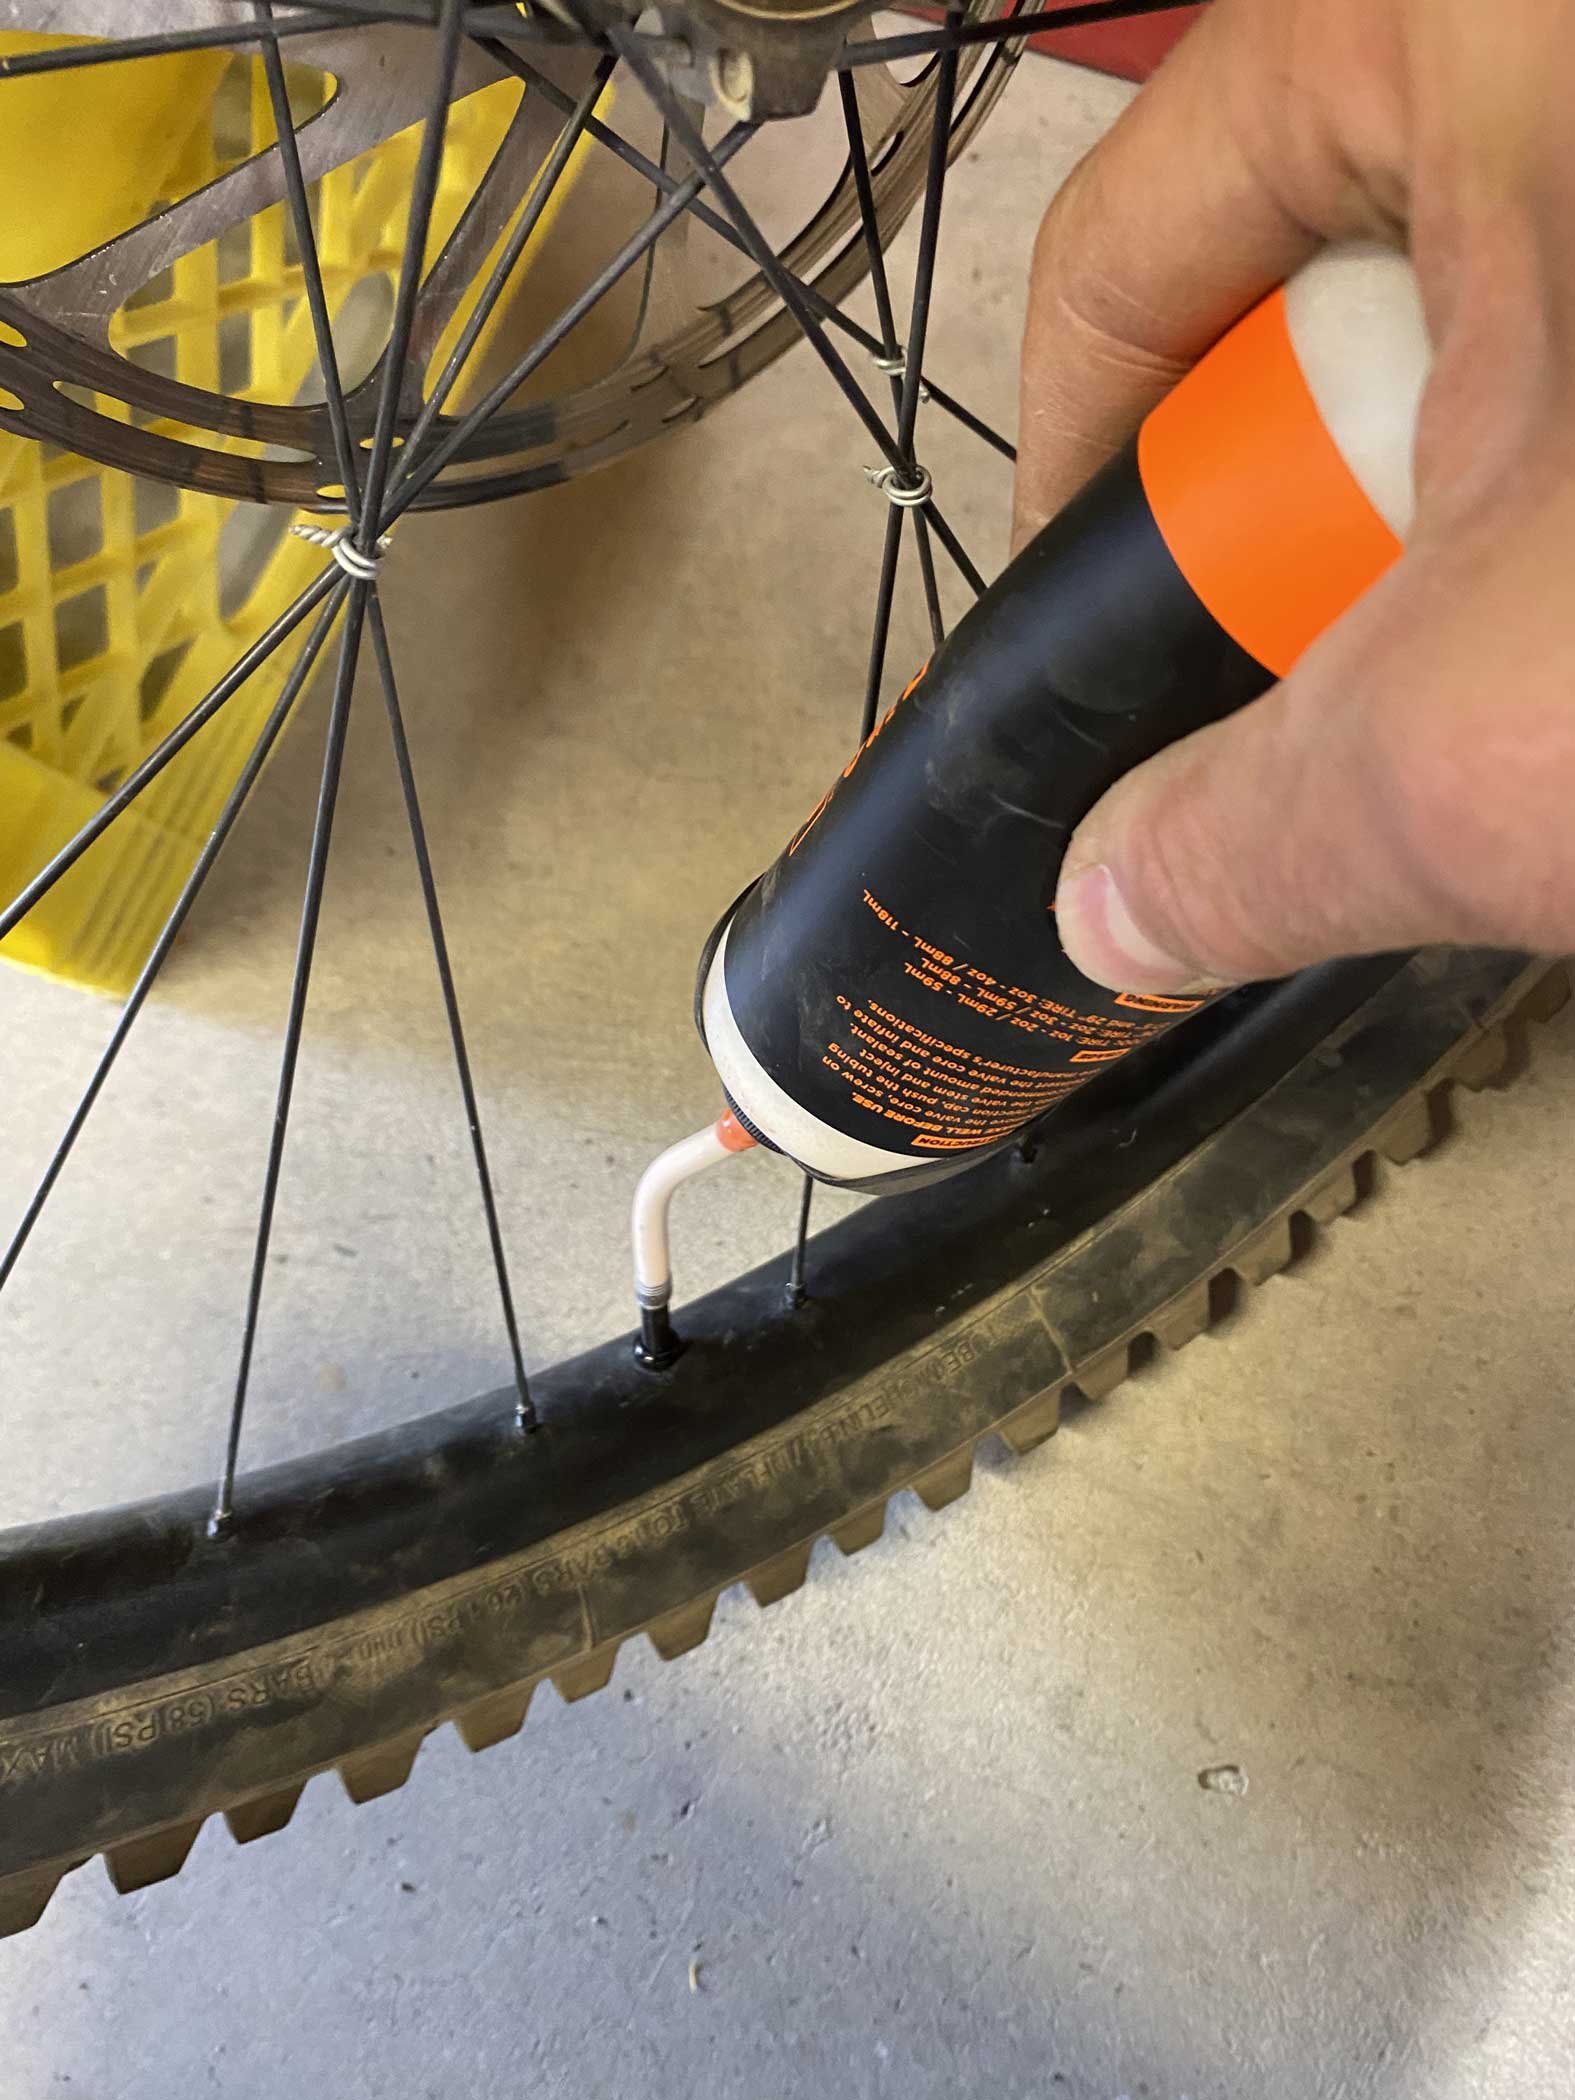
Using the applicator, I put ½ a bottle into each tire, put the valve core back in and brought the tire back up to pressure.
Once the sealant has been installed I like to lay the wheel flat, then shake it up and down to spread out the sealant and fill in any small leaks right away. Once I have done that for a full roatation of the tire, I put the tire back onto the bike, then head out on a slow ride around the block to spin out the fluid further. Once I was back from that, I checked the pressure to make sure that it was still good and I headed out to the bike park for some laps.
And they just worked. All of the pin holes had been filled in, and the tires were holding pressure well.
The only thing I had to do after that was just make sure that my pressure was correct before heading out. While you can run lower pressures with tubeless, I find that running 30-32psi (2 bar {ish}) works best for me. At that pressure I don't have to worry about the bead rolling off the rim, or causing damage to the rim, under 30psi it's a bit touchy and could result in a damaged rim.
Website: https://shop.orangeseal.com/products/tubeless-kits
Price: $51.99 USD. $99.99 CDN from MEC.